Three or four people who read this commented on how patient I must be fiddling around with these teeny pieces. Here's a snip of a reply to one of them:
- I am well known for chucking things (literally) when they've annoyed me for more than a couple of minutes - not advisable with small children! I want everything to go perfectly first time and instantly, that is wholly my temperament, so it is a huge surprise to me that not only do I stick this out but I get some sort of perverted pleasure from it. It also does seem to be only minis that have this effect - for example I had a teeny banging-around-the kitchen mardy a couple of days ago when everything I touched I seemed to spill or drop and the lunch was one disaster after the next. Patient I am not.
Those who know me well know this to be true. I wonder if any of you who mess with miniatures have discovered the same?
So, to day three in the saga (!) - see what I mean about being patient - and at last I can crack on with the next stage.

Back to the plot; I loved this process as the wood soon becomes deliciously silky and all the little bumps and 'gritty' bits disappear. I know this was the point of the process but when you are doing something for the first time you don't quite appreciate what you've been told until you actually do it.

I mentioned Kris (from the new added blog I am following) and her excellent advice. One of the things she mentioned was that tacky glue was not a good choice and it wouldn't really hold pieces firmly. How right she was. Two seconds into wire wooling and I had a detached leg and finial. Yes, I did support them well and handle them carefully - just listen to Kris and not to me - do not use Tacky Glue to build your kit. She suggests ordinary (yellow) wood glue - a mystery to me as yet but I'll let you know how much and where from when I find it.
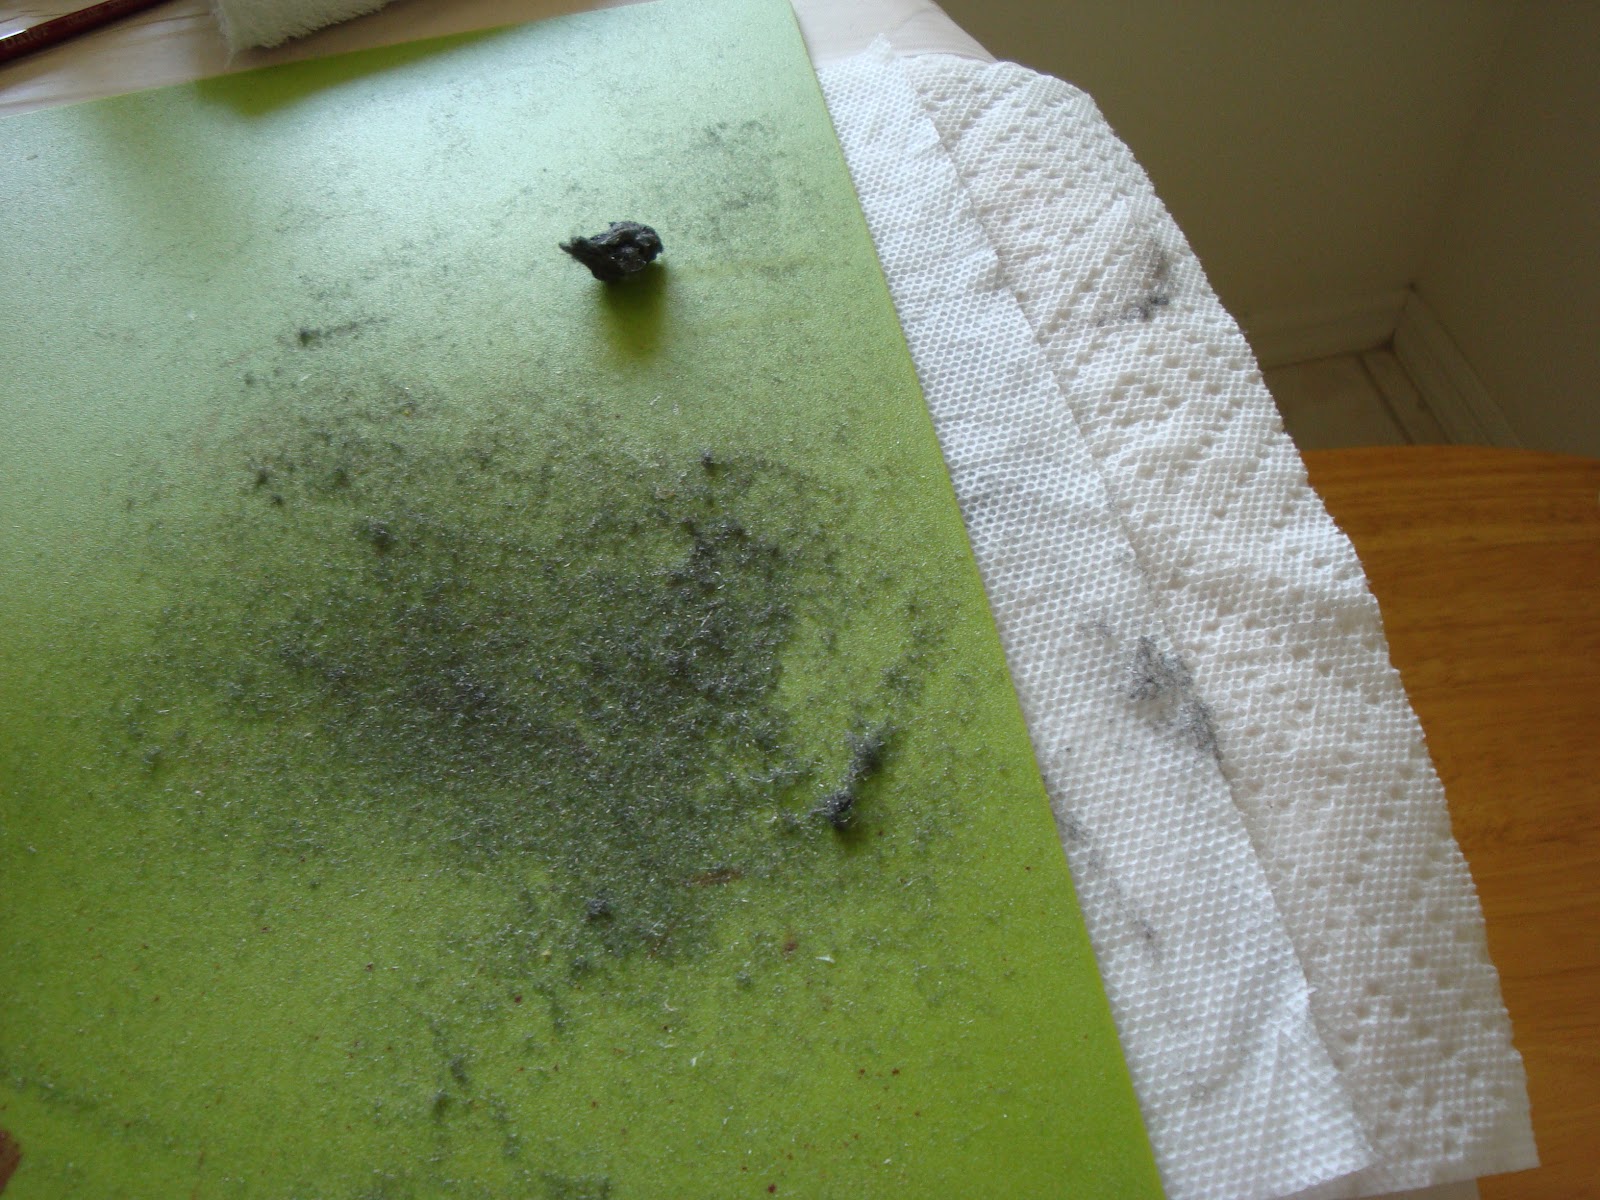
Warning! Wire wool makes a terrific mess. Do not sit near a breeze when you do this. You get a heap of very, very fine wire dust as you bowl along. The piece of kitchen roll I wedged under the edge of my board (as the dust was escaping onto the table) was damp (ready to clean up) and it held on to the rubbish a lot better than the board - I'm going to try covering all the work area that way next time.

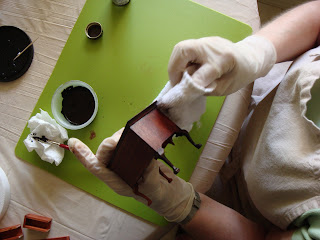
When all the pieces were silky I had a go with the tinted glaze. The idea is to cover the piece, leave it a couple of minutes and then rub it off in a way which would make the piece look used. I understand the dynamics of polished furniture and that you'd have a lighter centre on the top of the piece and lighter areas maybe on the sides (from exposure to light) and lighter areas on the drawers. That said I found I didn't have the detailed know-how or dexterity to achieve this. I did my best but I can see where it falls short.
 If you are really going for authenticity when making these things I suggest you are cheeky and have a good look at life size pieces in antique shops (etc), even take pictures where you can, because when you come to replicate them I bet you'd be surprised how little detail you actually know. Of course, you'll be fine if you are living with real 18th century Chippendale!
 If you are really going for authenticity when making these things I suggest you are cheeky and have a good look at life size pieces in antique shops (etc), even take pictures where you can, because when you come to replicate them I bet you'd be surprised how little detail you actually know. Of course, you'll be fine if you are living with real 18th century Chippendale!
Here I am struggling with the artistic wiping of a side panel.
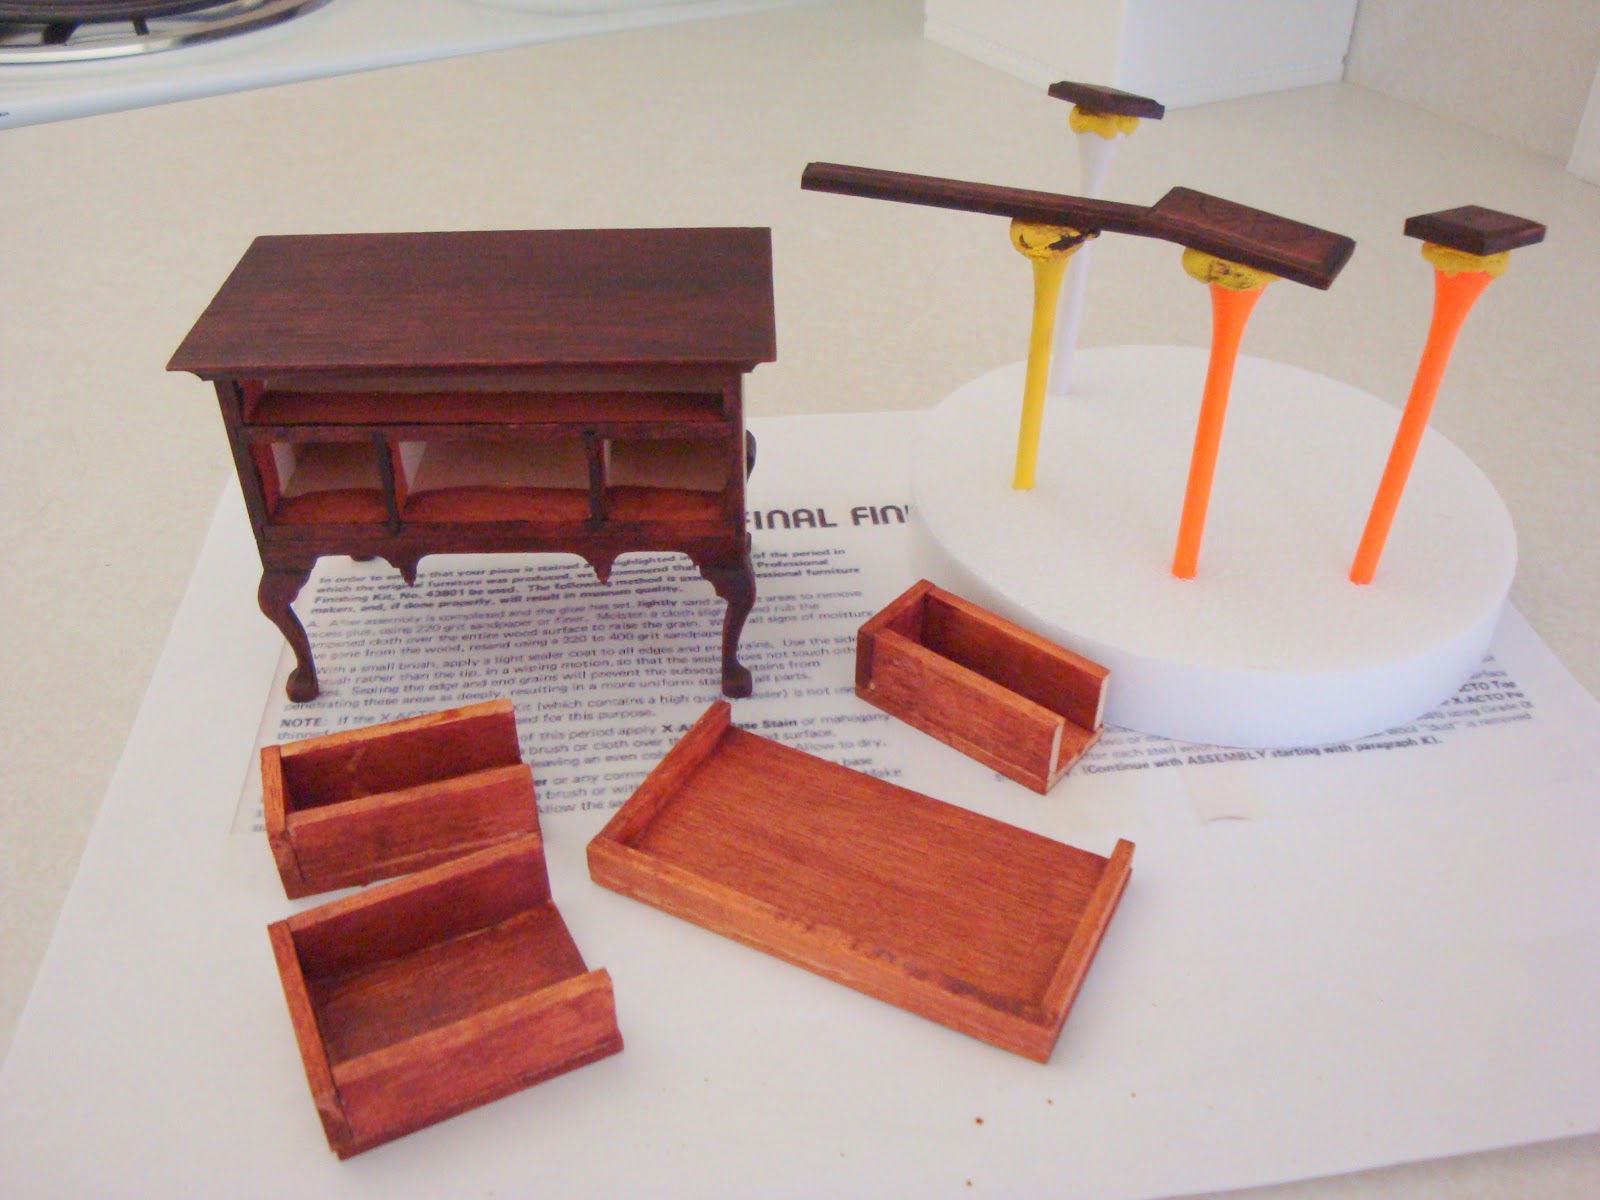
As you can see here I didn't glaze the drawer boxes as they aren't fully finished in real furniture (hence my forgetting to wire wool them). I posted this photo because it shows how much better the furniture looks with the dark glaze applied - it knocks back that awful (cheap) orange finish that the mahogany stain gives the wood. That colour is one of the reasons I don't like so much of the furniture you can buy, even at the top end of the market. I hope that when this has its final semi-shiny coat it will look just fine. Kris mentioned a gel clear finish which I shall be hunting for tomorrow. Watch this space. Now I am up to the next frustrating stage...... 'leave for 24 hours to dry'... speak to you tomorrow, decorators aside. (read Clavering for that!)
This comment has been removed by a blog administrator.
ReplyDelete