1. House of Miniatures - building the piece
This is not so much a how-to-do-it as how not to do it. I thought there wasn't much point in showing you how to make a House of Miniatures piece of furniture as the step by step instructions are in the box (if you are lucky!). That said, I did think it would be useful to see the sort of snags encountered by someone doing it for the first time. It might give you a better idea of whether you want to try one or not.
My rationale for buying them was that most furniture I can afford is not very good and even some of the stuff beyond my purse isn't that great, so I thought I'd have a go at (part)making stuff myself. I was also curious to find out if (a) I can do it and (b) if I enjoy doing it. In addition I thought it kind of makes Le Tout Paris feel more mine somehow than if I'd just bought everything. So, the only big warning I have for you, if you are considering these kits (or similar) for the same sort of reasons I had, is don't do what I did and buy loads of the things because if you do one and hate the whole process itself and then the finished object, you will have a bunch of stuff to get rid of. After only about three hours at this, I think I should have stopped at one; maybe it will get better.
So here goes with the problems so far:
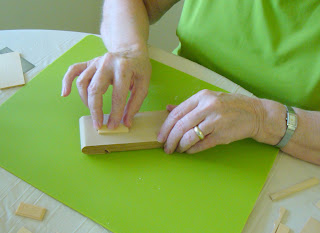
After listing the tools you will need, which included a knife that never got mentioned again and I never used once during any part of the make, the first construction instruction tells you to sand all the pieces. This simple chest has 35 pieces. You are supposed to use 220 grit sandpaper followed by 280. I read somewhere else that it takes about 20 passes on each surface (with the grain). I decided I was cleverer than that and I'd only do the surfaces that would show. I left them good side up so I'd know which I'd done. This was a rubbish idea as it all got 'lost' when I was actually handling the bits to stick together. I already had paper on a 2inch block which was a fine grade but I had no idea what grit it was (Ken guessed about 200) so I decided that would do. As for 20 passes and a follow up with a finer grit I'll leave you to figure out whether I actually did that. So - in my case - off to a bad start. The useful tip here is - put your sanding block down and slide the piece across it. Try to apply even pressure right across the piece (hence three fingers pressing it down). I quickly discovered it doesn't take much to deform pieces this small. There is no way to explain what amount of pressure is needed it is just trial and error but remember you don't have any practice pieces. If you are really well organised and want to do things properly you could buy the same sort of wood from a hobby store and practice every technique on that before attacking the real thing. You will have gathered by now I am bash-on-with-it type.

This Chippendale Lowboy has cabriole legs and you are instructed to (quarter) round off all the edges and round off the foot. This was a challenge for a first timer too. As I said before, on this scale, it is very easy to under or over shape something and these legs have very slim ankles! I did an OK job on the finished shape and all fours legs seemed to match but I am concerned that the grain seems roughed up here and there and this will matter when I come to stain and finish the wood. You are also advised to use tinted glue so if it shows up anywhere on a good surface and refuses to take up the stain the glue will sort of match and will look like glued furniture joints used to look in real life. I'm sure Mr Chippendale would not agree to this theory. To do this you need a glue which won't go off too quickly when exposed to air. I used Tacky Glue which solidifies very quickly, so that's no good for that for tinting. To tint your glue you need to buy a sample piece of wood and stain it and then mix acrylic paints in with your glue until you are able to match the colour. How you manage to keep any kind of consistency of colour, as you'll have to do this several time throughout the make, I have no idea. So I kicked that idea into touch. There will be tears tomorrow when I find I have a yucky patchy piece of furniture because the stain won't go through any rogue glue leaks. Watch this space.

Another early instruction was to make sure all the pieces fitted together properly and adjust any bad fits with a little judicious sanding. I skipped that! The first three pieces I tried to assembled didn't fit! Luckily before applying glue I did try to slide the vertical drawer dividers into the groves of the horizontal dividers, out of curiosity not cleverness. They wouldn't go in. The debate now was - do I widen the slits or narrow the wood? I started with a folded piece of sandpaper and started on the slits - don't do this! It wouldn't be long before you cut through the slit and there's no way to keep your sandpaper away from the bottom of the groove if you want to widen the gap. I thought it must be easier to make the bits that refuse to slide into the too narrow groove a little thinner; if you aren't very careful the nice square edge gets rounded and that doesn't make for a good final fit. I'll leave you to figure out a better way of making these micro-adjustments. I confess I struggled and didn't do a great job at improving the fit as you'll see in a couple of pictures time.

I don't think there is any way to apply glue without there being the occasional bit appearing where you don't want it. I have had a very fine glue syringe in the past and it is good to use but useless to wash and dry and put away for next time and if you leave the glue even for a couple of hours or so it completely dries up and you can't get the pin out. Even if you do manage to extricate it with pliers, much cursing and sometimes breaking it you'll find the glue has set inside the tip of the syringe and so refuses to let out the useful stuff. I might have been doing something wrong (?) but I never really got on with it. I have a new one waiting for me in the UK so I'm determined to have another go and see if I can improve on my method sometime. Meanwhile back to old faithful - the toothpick. I guess your method of applying glue will depend on what glue you decide to use.

OK - here's what happened to my bad fit pieces. I reshaped them, applied glue and then found I still had to shove them very hard to get them in the slots and in doing so I snapped piece three. So, here I am very early in the game, and ready to quit. Deep breath, calm thoughts and here I am gluing the broken bit together. It certainly isn't perfect but it should be almost hidden when the drawer is in place. It's a good job I don't mend fractured legs for a living. The other two grooves were a bit more forgiving. I tried to push the whole piece in rather than slide along. If you slide the pieces in, you force the glue out ahead of the piece being slid in place and you end up with a lack of glue where you actually need it and an excess blob of glue where you don't.
Worth noting here is that the instructions I had for this kit actually had quite a few vague areas and even some mistakes. For example, at this stage of the build, it blithely told me to glue four pieces of kit together all of which were mis-numbered. Not a lot of use telling you to glue piece number 2 to piece number 97 when neither of those pieces is in the kit you are assembling. Fortunately the diagrams are excellent and you can pretty much build it just following those.

If you don't take anything else away from this heap of moans and groans do take away this tip. Buy and use plastic clamps. I got two 7 inch and two three inch Xacto clamps with some other stuff off EBay at a good price - just keep searching and you'll find them somewhere at a price you want to pay. I made a fully fitted kitchen in my previous project and clamped all the cupboards with all sorts of things - elastic bands, masking tape, laundry pegs, weighted down with books - to name a few. If I'd had these clamps life would have been so much simpler. they are an absolute joy to use and do a great job. For me (using Tacky Glue) by the time I had assembled the next bit of the project they were ready to remove and move on to hold the newly glued piece.

This photo is just to remind you of how fiddly small some pieces can be. [I have even smaller stuff facing me at the end of thebuild] The finials weren't that easy to get in exactly the right place. I work better with fingers than tweezers but the natural oils on your skin are enough to cling on to tiny pieces like these so I ended up getting them in place with a combination of tweezers and manual dexterity. Again this is something you need to consider before setting off on these kinds of projects - how nimble-fingered are you will matter a great deal doing this kind of stuff. As my husband says he wouldn't have a hope of messing with such small stuff and wonders how the chaps involved in this hobby mange it. I am sure when we see wonderful pieces of miniature work we all wonder the same irrespective of gender. As I said it is all about your fine motor skills. I know because of doing this work I am no where near as skilled as I would have been thirty years ago, so (at least in my case) even age can make a difference. My eyesight through glasses is not as good as younger unaided good vision and my hands don't seem to do precisely what my brain requires of them.
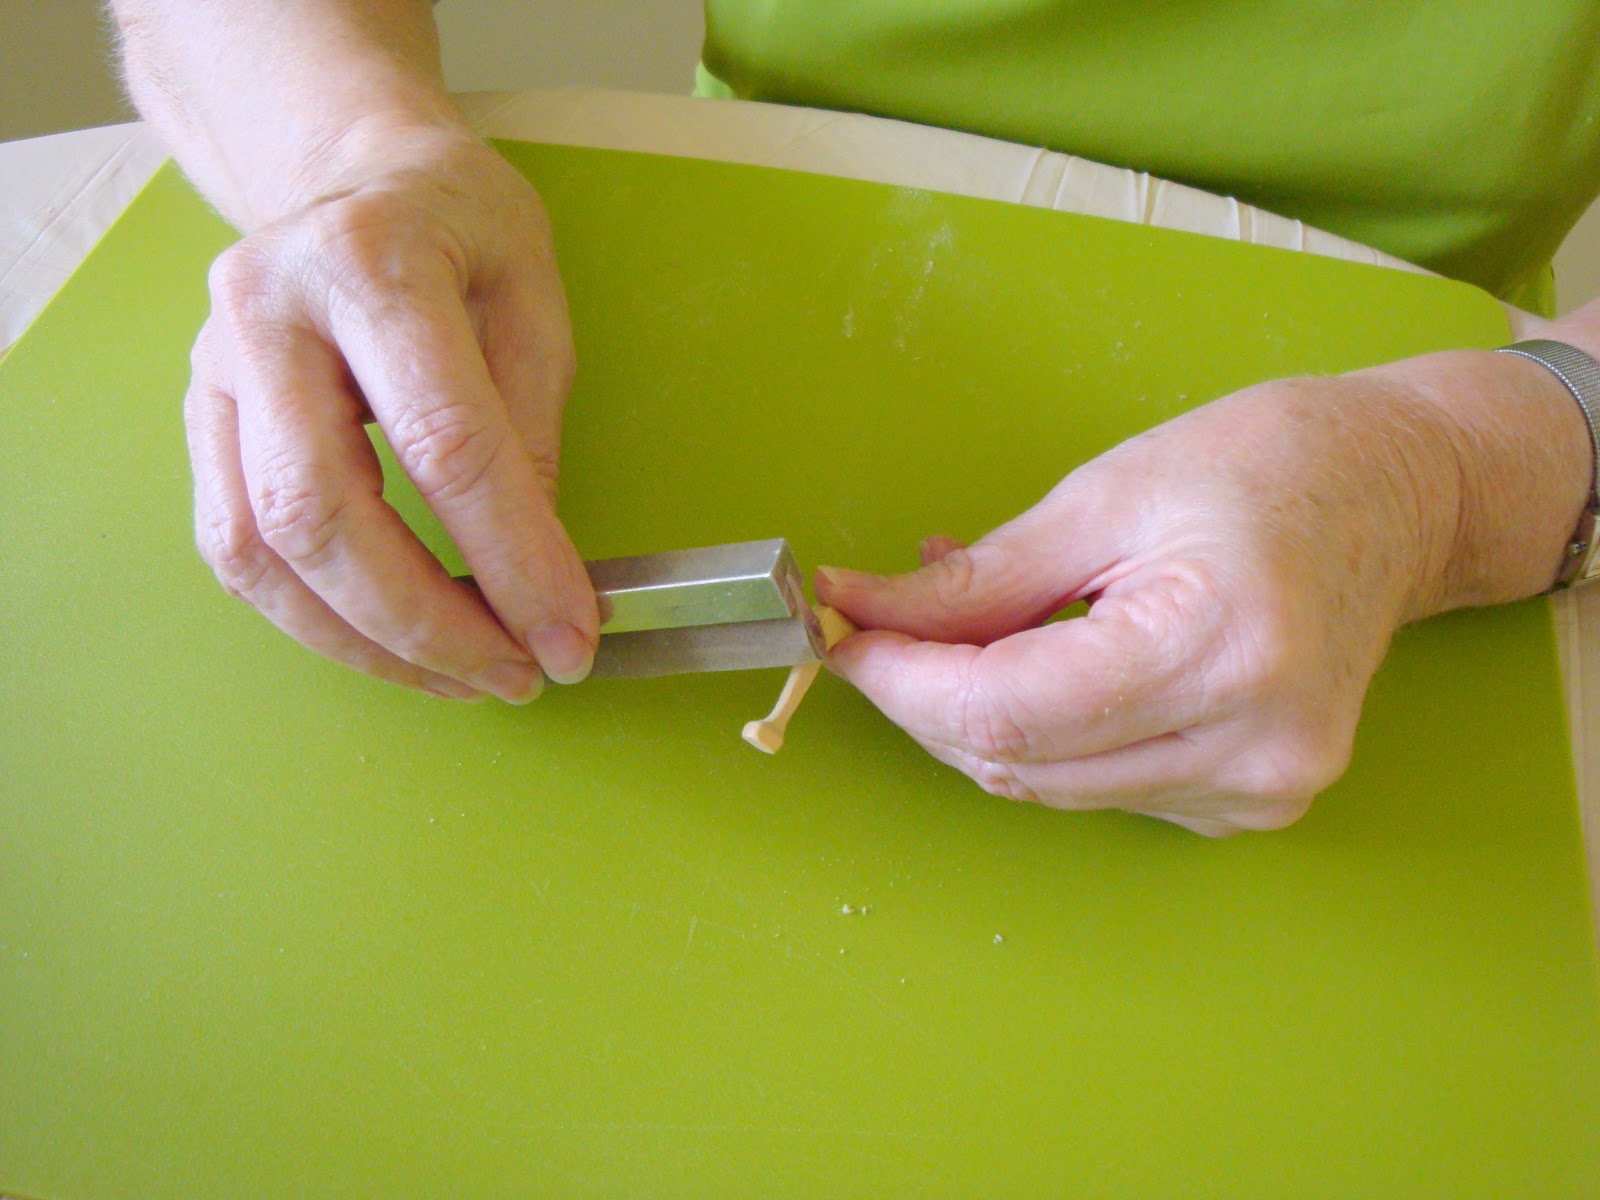
To mark up the holes needed on the drawer fronts for the hardware you are going to fit, you are told to use the layout pictures as a guide. I realised that measuring the diagram and transferring those measurements to the 3-D piece would be a nightmare as the drawer fronts have very curvy shaped edges. I would imagine you could trace the pattern very carefully and mark the holes using that. I didn't have tracing paper and wanted to get on with it so I just cut out the pieces from the instruction sheet and laid them on the wood and marked the holes through this with a pin. Well actually it is the broken end of my paper scoring gizmo! I then had to drill the holes with a number 65 drill bit - whatever that is. Incidentally the drill never got a mention in the Tools and Materials Needed list in the introduction. Luckily I had a drill with the clamps I bought and it was fine - 65 or otherwise.

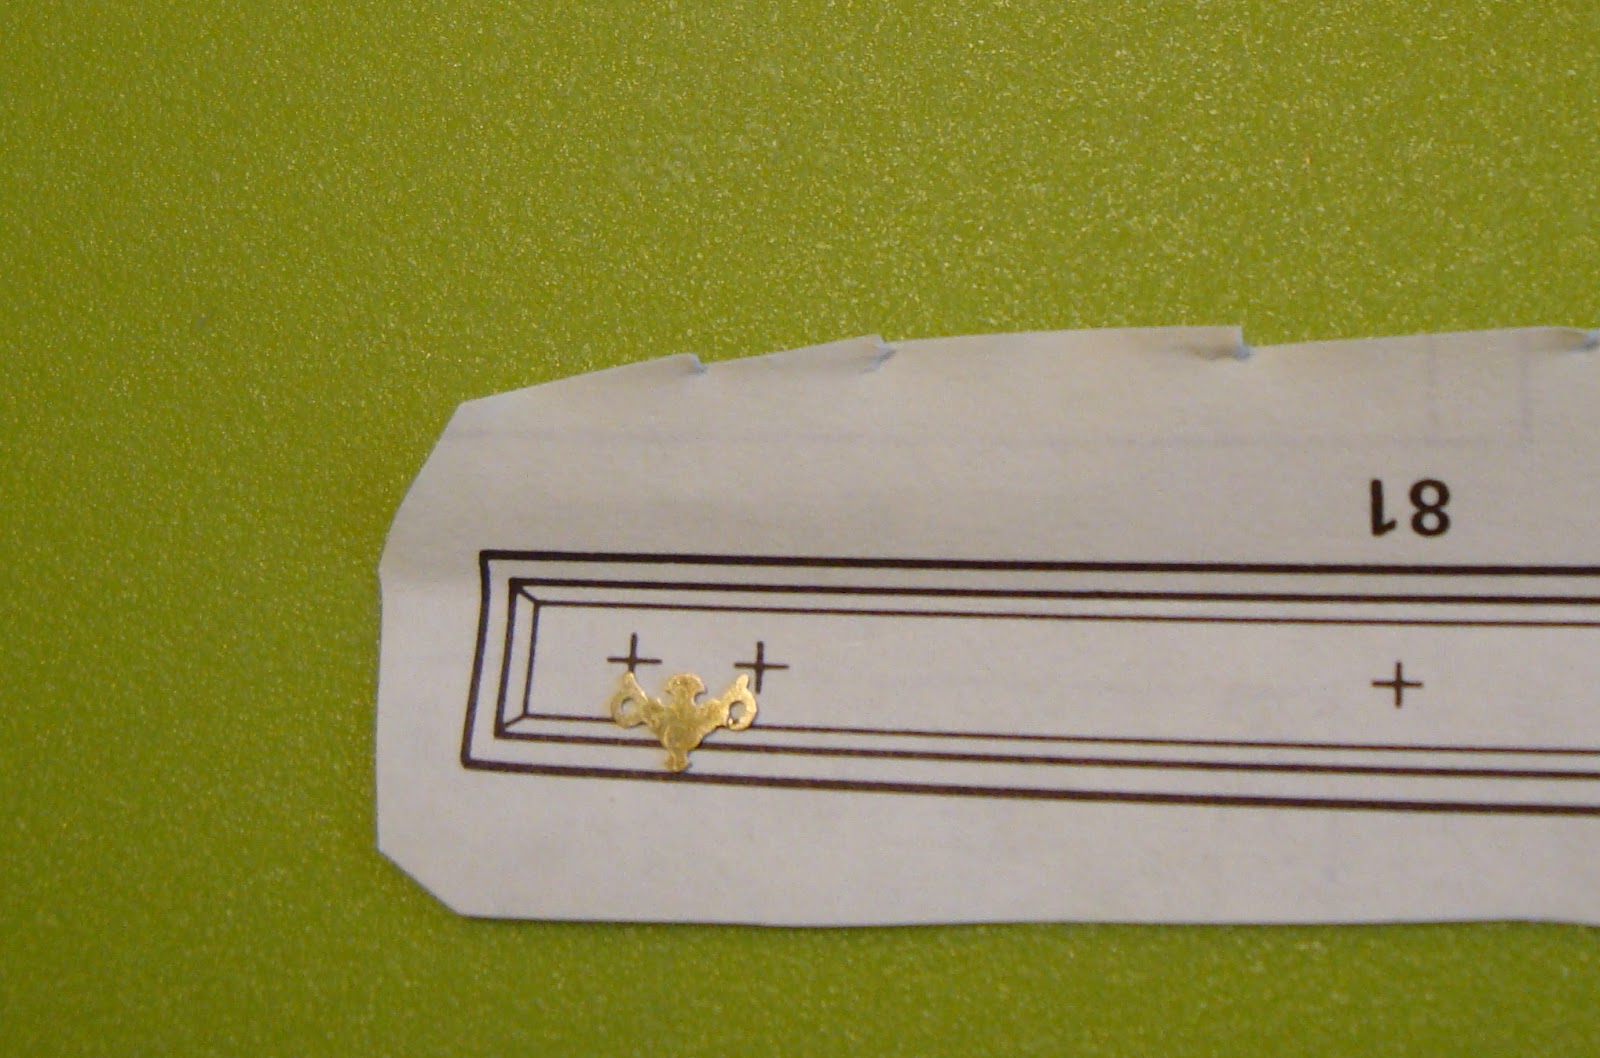
Again, more by luck than by design, before drilling the rest of the holes I tried to see if I could attach the escutcheon and bail (drawer handle) through these holes. Well done kit maker they were very slightly too far apart! If you look very carefully at the photo you can see that the holes on the escutcheon don't quite line up with the drawn marks on the plan. teeny difference but all the difference in the world in being able to do the rest of the job or not. I made my best guess where to bodge when marking the other holes and they seem to be OK. We'll see tomorrow.
So there we are for today.... all ready and waiting for its pre-stain, stain and final finish tomorrow. As I said, I'm sure there will be tears before bedtime!


No comments:
Post a Comment
To prevent spam your comments come to me first. I will be as fast as I can to post them and reply. Please do leave a message.