Boxes

Cut out very carefully. The success of the finished box depends a lot
on being accurate with your cutting. I
only use small scissors but you may prefer a sharp knife. I find that unless the blade is brand new it
often drags the paper when I’m cutting.
I also I seem to have better control with scissors; you can see in this
photo they are often steadied by both hands when they are cutting a line. Whether you cut inside or outside the lines
is personal preference again. Some
people like to have a defined line showing around the edges of their
boxes. I think it is more realistic not
to have this.

Score along all
the fold lines. I can’t emphasise enough that accuracy is always the key to success with small stuff.
Take your time. I use a double
ended tool from Michaels which cost all of $1.99. I’ve no idea what it is called but it has a
small ball at one end and a smaller one set at an angle at the other. They are like the ball in a ball point pen (biro). I am sure a fine bone folder would do too but I
love this little gizmo. I crease edges with it, pick up spots of glue with it, press small tabs
into place with it and just about everything else you can think of when gluing
teeny bits of card.

When you’ve finished all the scoring and have checked carefully that you have done them all, especially on more complex layouts, fold along the
creases on two opposing sides. Lay it down on your board with the folded
edges underneath. Take care that
everything is lying flat and that no small tabs have got crumpled up.
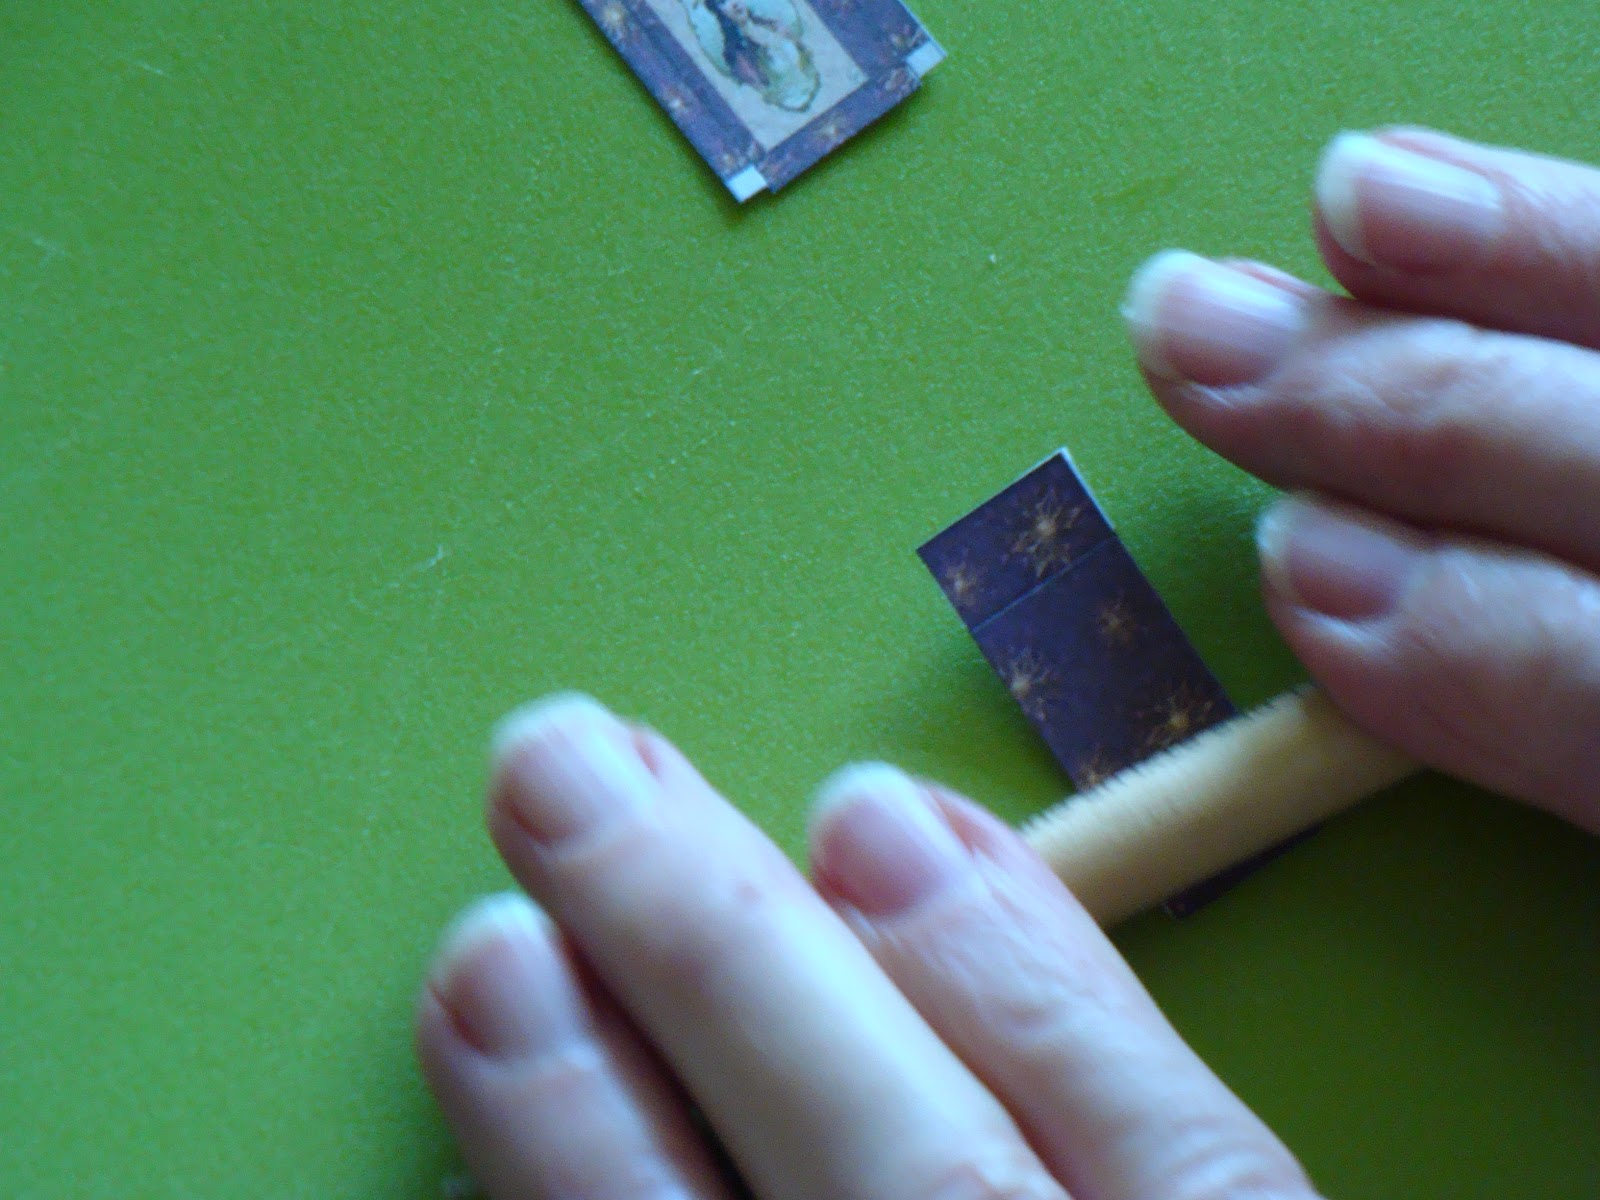
I then use my all-purpose tool to roll over the
creases. Find the method that works best
for you. It is important not to skip
this step if you want sharp creases. You
could press them down with the back of your fingernail, or bone folder or use a
pen or pencil in the same way as I am using my gizmo. Basically the folds need
to be made sharp by pressing them down.
After I’ve done the lengthwise creases I unfold the card and do the same
with the remaining widthways creases and then any other tabs that need doing (on
more complicated constructions). Every
crease needs a good pressing.

Apply glue to the tabs. I use Tacky Glue. Again with practice you’ll find what
suits you best. Here’s why Tacky Glue works best for me. Unlike most paper glues it doesn’t soak into
the cardboard too much, it is easy to control as it isn't runny, it's cheap to buy, easy to clean up (if you wait for it to dry you can just peel it off
wherever it is) and, best of all, it is tacky!
I apply a small amount with a cocktail stick and make sure I cover the
whole tab. By the time I have done this
with four tabs the first one will have gone tacky so when I fold it into place
and press the two pieces of cardboard together it is ready to hold.

I work my way around all four and press the joins
together in all sorts of ways depending on the size I am dealing with, my
fingers and finger nails are the most useful tools. I might give it a bit extra compression with
the larger ball end of my little multi-purpose gizmo and sometimes my
tweezers. Be careful doing this; only
ever work on the wrong side of an item as it can put little pressure marks in
the cardboard and your edges can look like the crimped edge of a pie crust.

One finished lid.
The next part also requires some patience. The pieces need to be left to dry thoroughly
before you put them together. If it is
possible, leave them overnight then you’ll know they are definitely dry. They
also become more rigid as the glue dries so they are easier to handle (prevents squashing them) when you put the lids on.
Even better before you put the lids on, fill them with tissue paper and small objects. (Some of) Mine will have shoes, gloves, soap,
perfume, lace collars, wraps etc. for my Edwardian ladies emporium.
No comments:
Post a Comment
To prevent spam your comments come to me first. I will be as fast as I can to post them and reply. Please do leave a message.